

Docs Visit website
Get started

Getting Started

Set up your store and find the tools you need.

Overview

M&M POS helps you sell items and run your store. POS stands for point of sale, where you take payment.

  1. Get the app for your device from mmpos.app.
  2. Sign up for a new store, or log in to your store.
  3. Check your store details, currency, and tax rates in Settings.
  4. Add an item in Inventory. Then open Sell to make a sale.

Some tools need an add-on. An add-on is an extra tool you turn on for your store. A tool may also need a certain device or payment account.

Need to take cards? Start with Connect Stripe. After a sale, check or send the receipt.

Check that a printer or card reader works with your device before you buy it.
Sign up

  1. Open the app and choose Sign up.
  2. Enter your store name and email, then create a password.
  3. Read the terms before you agree to them.
  4. Enter the code sent to your email.
  5. Follow the welcome steps to set up your store.

If the code does not arrive, check your junk mail. Use the resend option if needed. Ask Support for help if you still cannot sign up.

If you see a Google or Apple sign-up button, you can follow that sign-up path instead.

Login

  1. Open the app and choose Login.
  2. Enter the email and password for your store.
  3. Complete any sign-in checks shown in the app.

Use your Google or Apple sign-in button if that is how you set up your account. Your store login is not the same as a customer's shop login.

General Layout

Open the main menu to choose a page.

  • Inventory holds the items you sell.
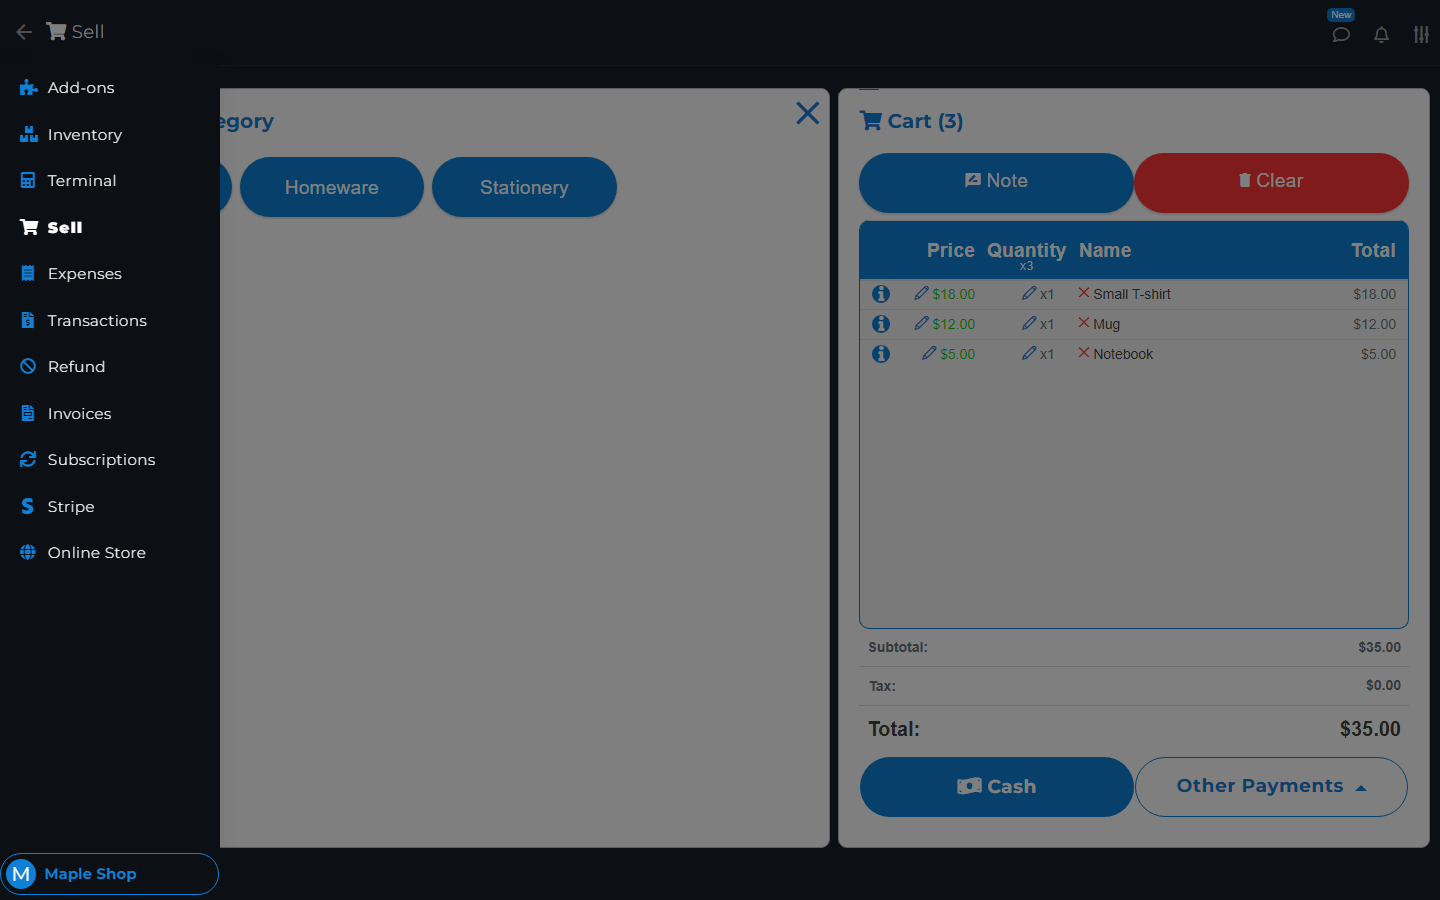
  • Sell is where you build a sale and take payment.
  • Transactions shows saved sales and refunds.
  • Expenses holds the costs you record for your store.
  • Online Store controls the shop your customers use on the web.
M&M POS main menu beside the Sell screen.
Open the main menu to choose a page.

Choose your store name to find Settings and Support. Pages for add-on tools appear when the add-on is enabled. Staff may see fewer pages based on the access you give them.

A three-dot button opens more choices. In this guide, “choose” means tap on a phone or click on a computer.

Keypads and alerts

Use the number keypad when the app asks for an amount. Check the number, then choose DONE.

The alert icon shows app notices. Open an alert to read it and check the linked record. An alert about an order is not proof that its payment is complete.

Use the card or table view controls to change how a list looks. These do not change the saved data.

Common words in this guide

  • Inventory: your list of items and stock.
  • Stock: how many items you have.
  • Transaction: a saved sale or refund.
  • Invoice: a bill asking a customer to pay.
  • Estimate: a price quote before the customer agrees.
  • Subscription: a payment that repeats.
  • Modifier: a choice added to an item.
  • Variation: a product choice, such as size or color.
  • Checkout type: how the buyer gets the order, such as Pickup, Delivery, or Shipping.
  • Customer Portal: a web page where a customer sees their own records.
  • Permission: what someone is allowed to do.

The guide keeps button names as they appear in the app. Use this list whenever you need a quick explanation.

Reset Password

  1. On the login screen, choose Reset Password.
  2. Enter your store email and choose Reset.
  3. Get the code from your email and enter it.
  4. Enter your new password and finish the reset.

Check junk mail if you do not see the code. Do not share your code or password. Use Device Management to sign out a device you no longer trust. Do not rely on a password reset to sign out all devices.

Sign Out

Open the menu and choose your store name. Choose Sign Out. You can also use Sign Out Of Store in Settings.

Finish any open sale first. On a shared device, sign out when you no longer need access.

Search by topic, task or a few words.