Inventory is the list of items you sell. Open an item to see or change its price, stock, and other details.
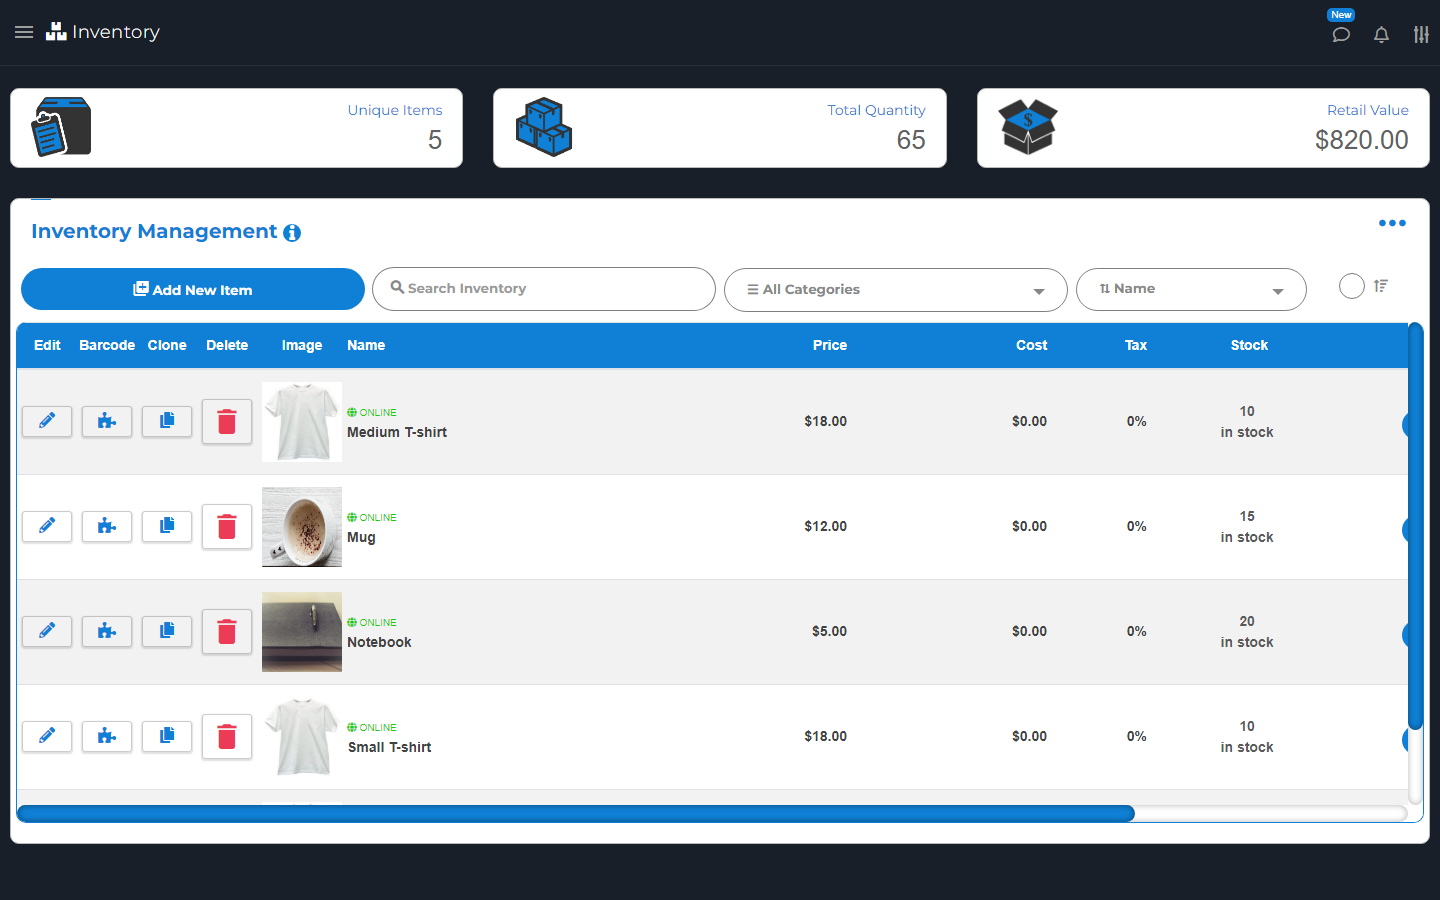
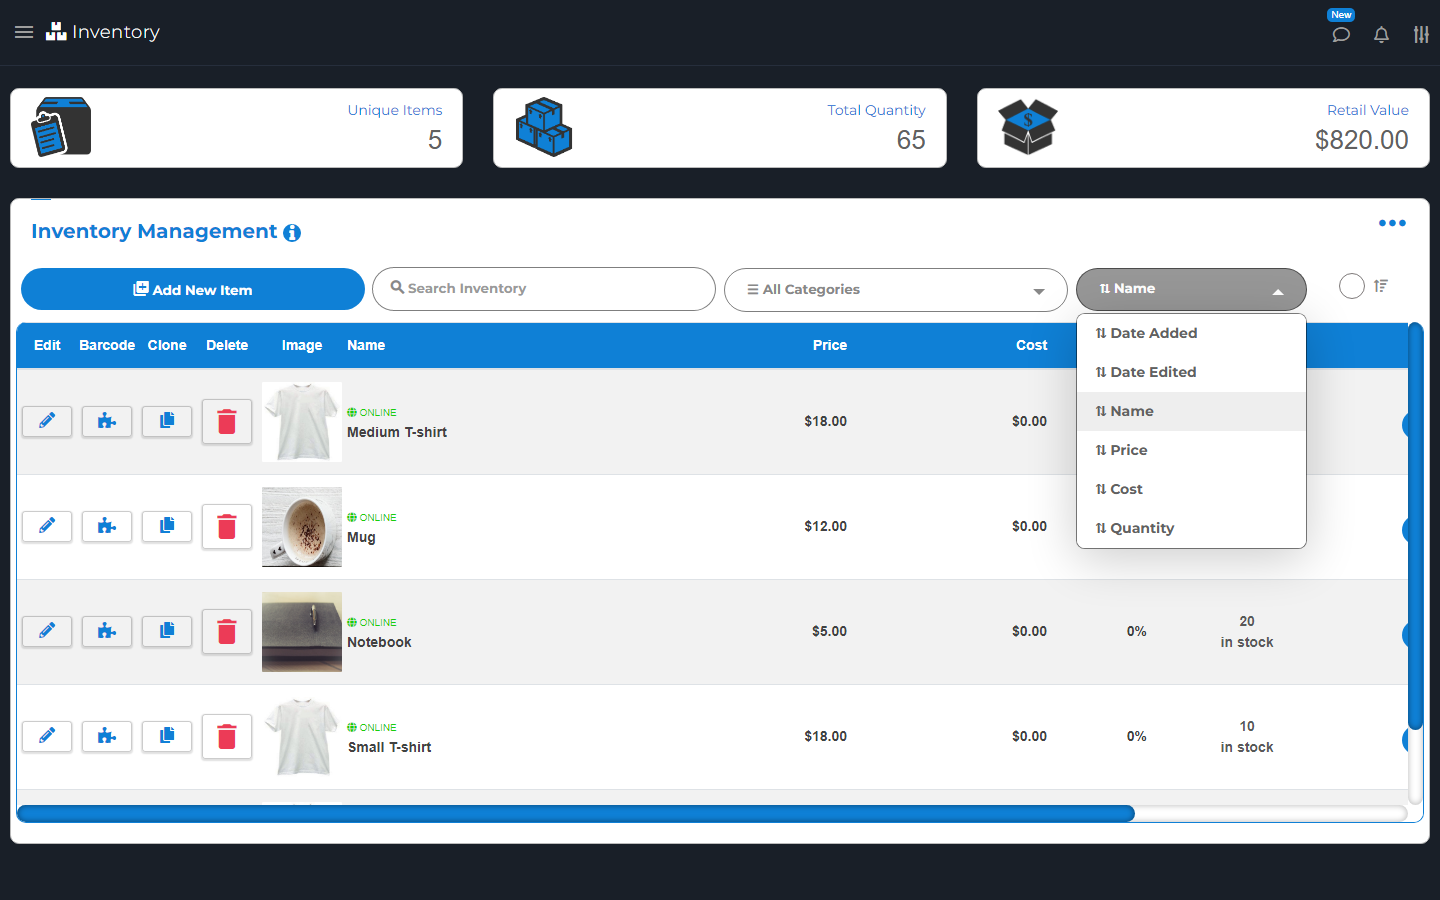
The item list shows product photos, prices, and stock counts. T-shirt photo: GlennD09. Mug photo: Ryan Adams (cropped). Both CC BY 2.0. Notebook photo: Thomas Martinsen, CC0.
Unique Items counts item records. Total Quantity is the stock count. Retail Value is the value at your sale prices. It is not money you have already earned.
Use Inventory Stats for more totals, such as cost value and online item counts. Use the menu to switch the list view or find more tools.
Adding Items
Open Inventory > Add New Item.
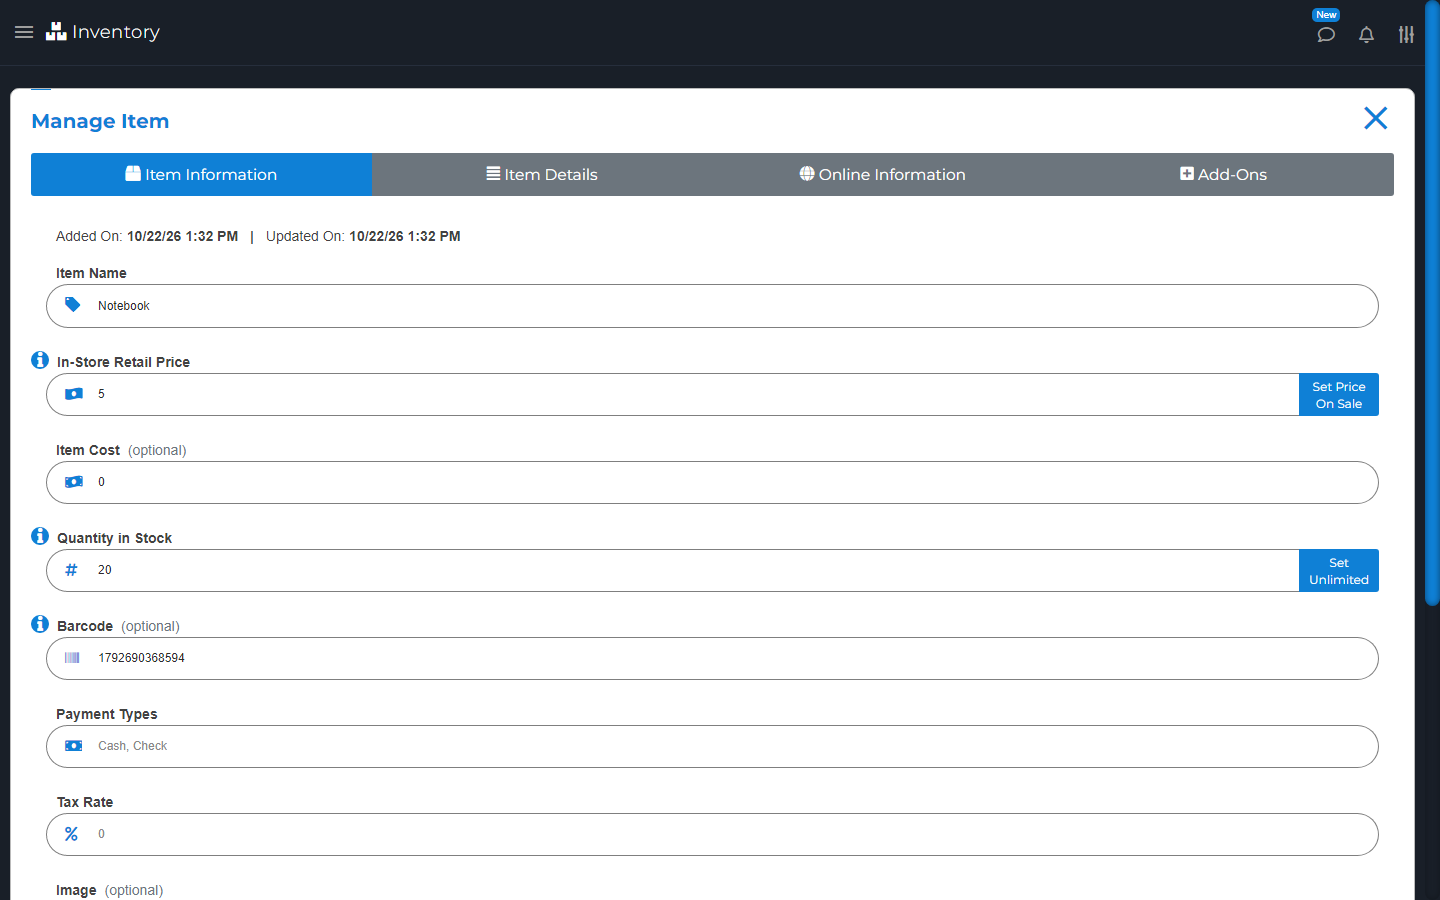
Enter Item Name and Retail Price. The retail price is what the buyer pays for the item before any extra charges.
Enter Item Cost if you want cost and profit reports. This is what the item costs you.
Set Quantity in Stock. Use Unlimited only if you do not need a real count.
Barcode is optional. If the item has one, scan or enter it. Otherwise leave it blank; M&M POS fills in a code when you save. Do not reuse another item's barcode.
Set the item's payment types and tax rate. Check both before you sell it.
Add a category, subcategory, note, or picture if needed.
Choose Save. Check that the item is in your list.
Set Price On Sale lets staff enter the price when they sell it. A category groups items, such as Drinks. A subcategory is a smaller group, such as Juice. For online items, keep notes free of private details. Some online views can use the item description when online text is missing.
Set the item name, price, and stock count here.
Use the Online tab for the online price, public text, and photos. See Products & Inventory.
Editing Items
Open Inventory, find the item, and choose Edit. Change the fields you need and choose Save.
Check the saved price and stock. The online price can differ from the in-store price, so check the Online tab too. Use Save & add new item or Save & clone item only if you also want to start another item.
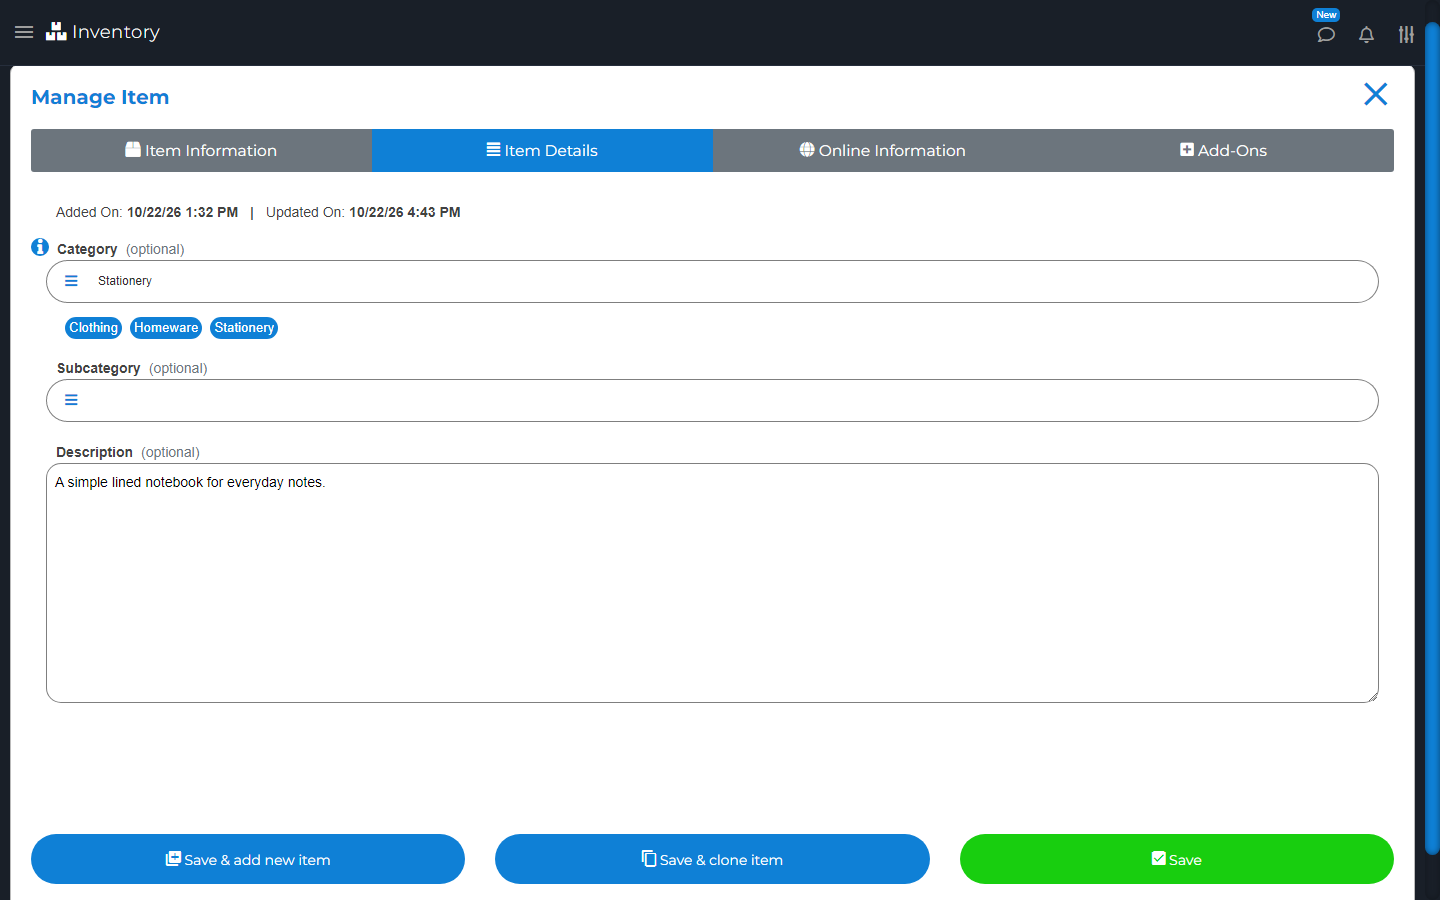
Use Item Details to set the category and add a clear item description.
Cloning Items
Clone makes a copy so you do not have to enter the same details again.
Find the item and choose Clone. Change the name, barcode, price, and stock as needed. Check the online fields too. Save the new item. Each item must have its own barcode.
Searching Inventory
Use Search Inventory. Enter a name, barcode, note, or category, then run the search. You can also scan a barcode.
Clear the search to see the list again. If you still cannot find an item, check that a category filter is not hiding it.
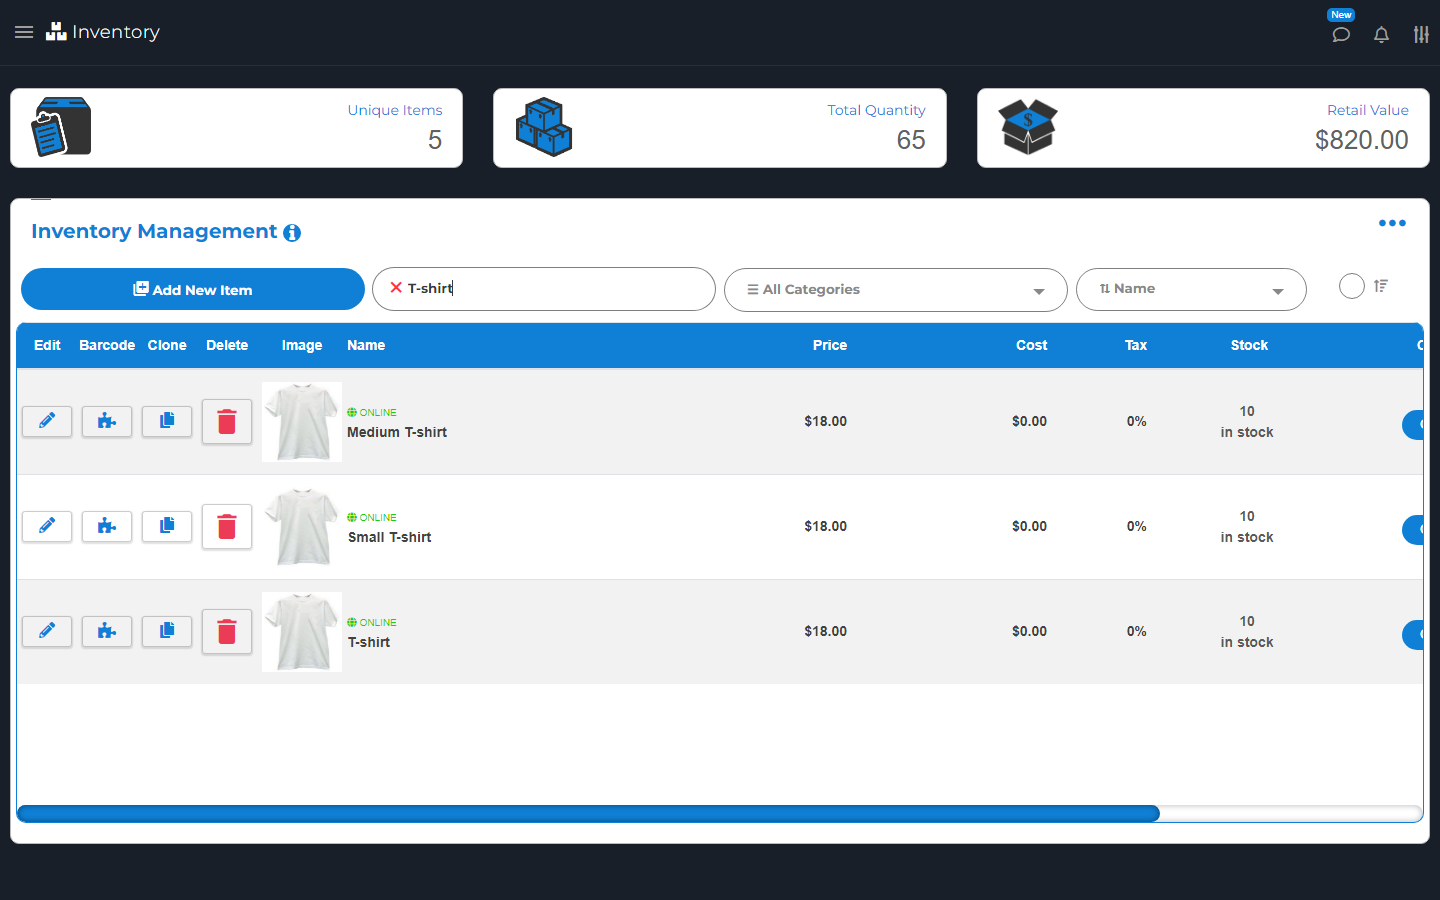
Type part of an item name to narrow the inventory list. T-shirt photo: GlennD09, CC BY 2.0.
Sorting Items
Use Sort in Inventory. Choose a field, such as name, price, cost, stock, or date. Reverse turns that order around.
Sorting changes how you see the list. It does not change your items.
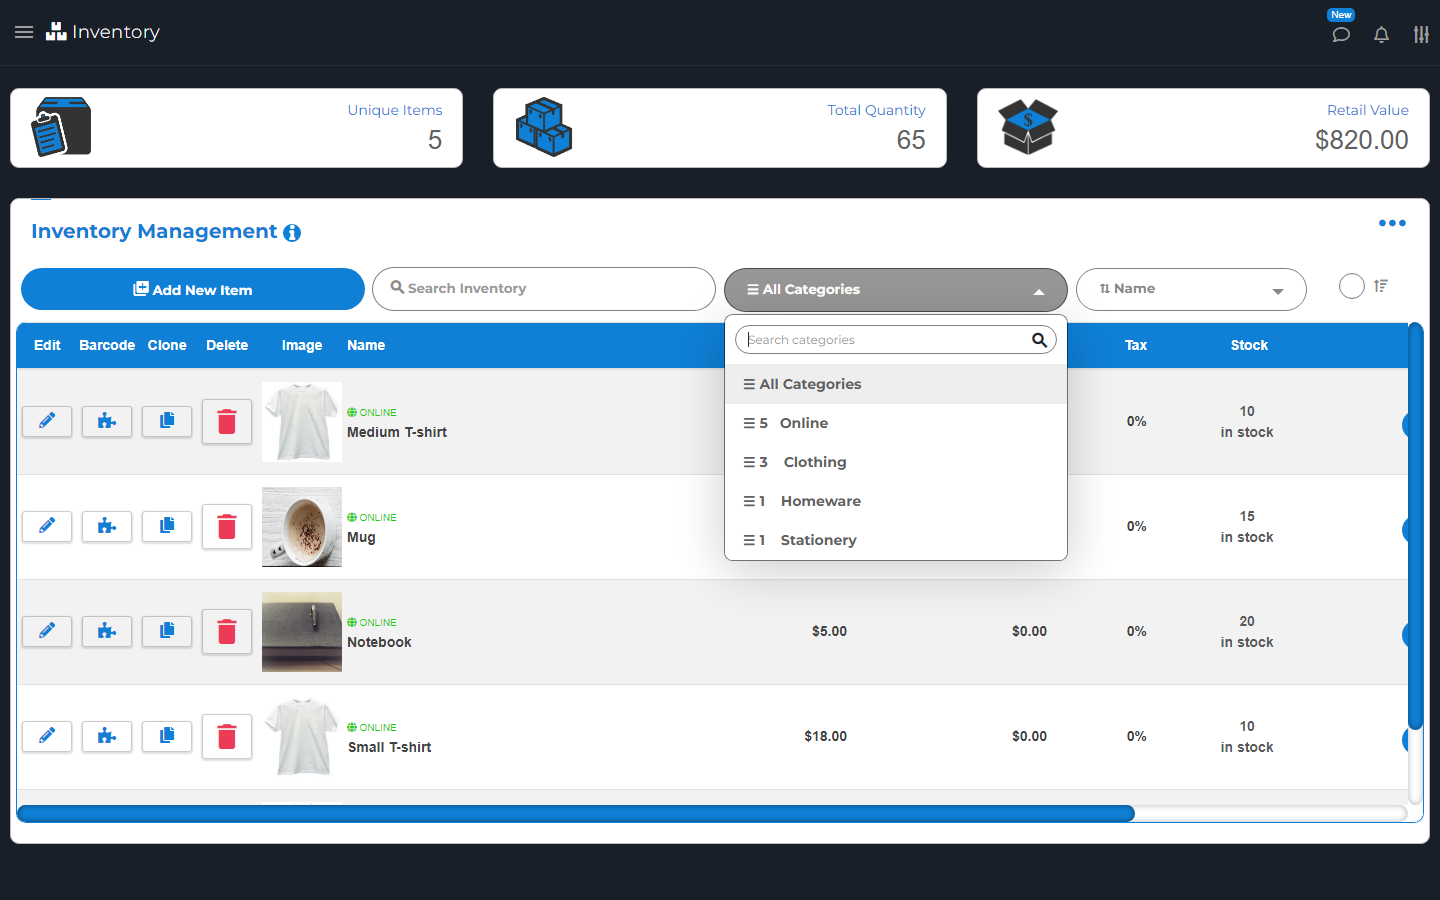
Use the category list in Inventory. Choose a category to see its items. Online shows items set up for the shop. Uncategorized shows items with no category.
Choose All Categories to see the full list again. A search can narrow the list too.
Open Delete Categories from the Inventory menu. Find the category and choose its delete button. Check the message before you confirm.
This removes the category from items. It does not delete the items. They become Uncategorized.
Updating Item Stock
To set the total you have, edit the item and change Quantity in Stock. Save it.
To add new stock by scanning, open Update Item Stock from Inventory. Scan each item you receive. Check the count shown. Use Add +1 to add one more when needed.
Setting Quantity in Stock replaces the total. Scanning received stock adds to it.
Import Inventory
Import means add a list from a file. Make a backup with Export Inventory before you replace any items.
Open Inventory and choose Import Inventory from its menu.
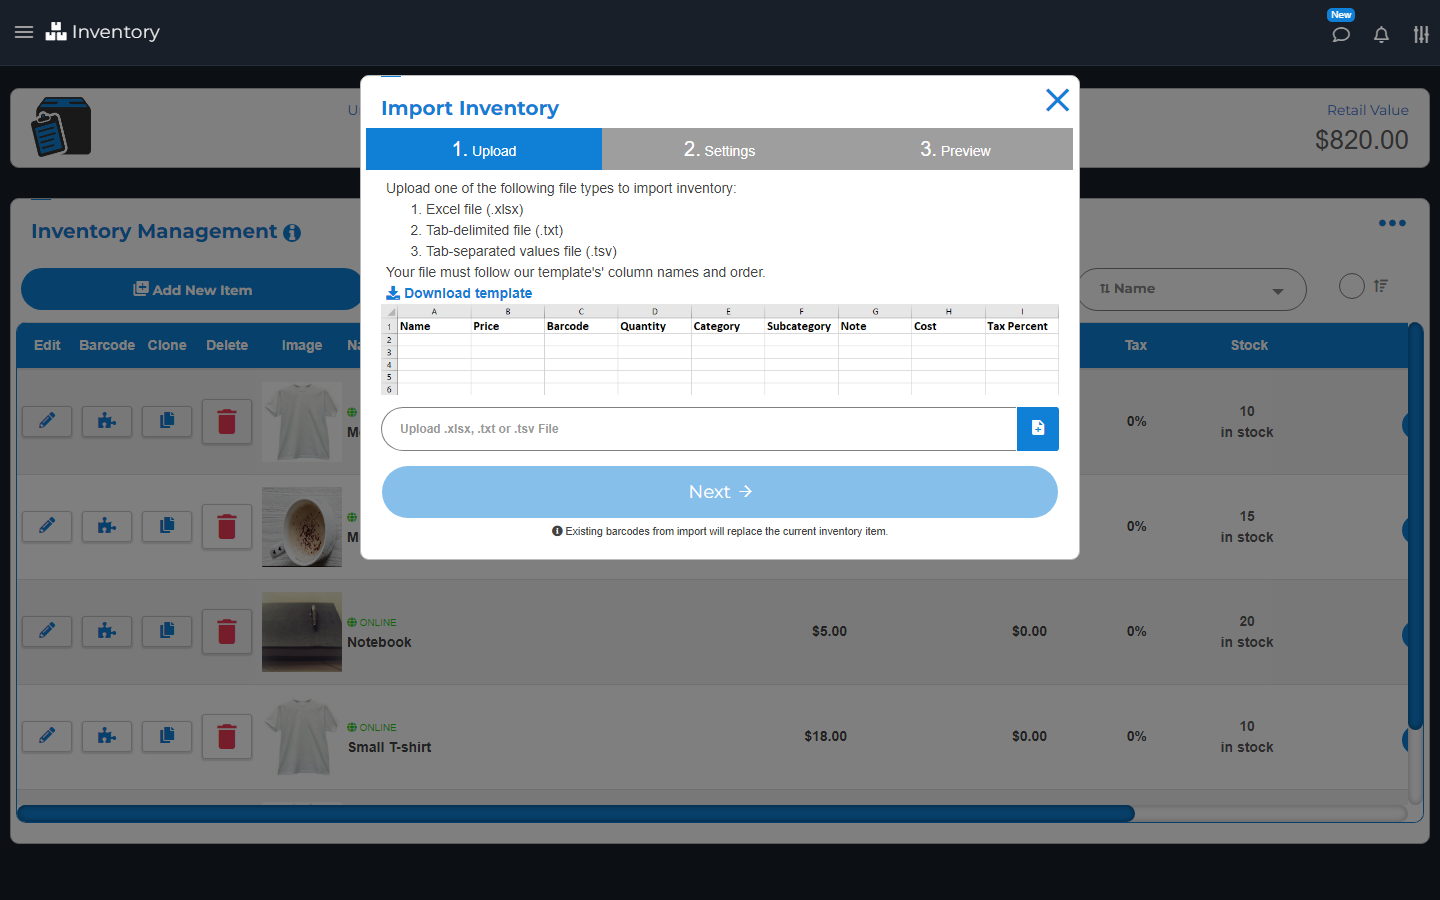
Choose Download template. Use that file's column names and order.
Fill in your items. Keep each barcode unique. Keep any starting zero in a barcode.
Upload an Excel .xlsx, .txt, or .tsv file.
Choose the payment types for the items. Choose Next.
Check the item preview and the tax profiles shown.
Choose Import List only when the preview is right.
A barcode that already exists can replace the current item. The preview shows only the first part of a long list, so check your whole file too. Do not rename a file to make it look like a different file type.
Download the template, fill it in and choose the file to import. T-shirt photo: GlennD09. Mug photo: Ryan Adams (cropped). Both CC BY 2.0. Notebook photo: Thomas Martinsen, CC0.
Print Inventory Barcodes
Add-on
Add-on: Print Inventory Barcodes.
This needs the barcode printing add-on and a printer that works with your device.
Find an item in Inventory and choose Barcode. Check the name, code, and price in the preview. Choose Print Barcode. Test one label and scan it before you print a large batch.
Item Collections
Open Inventory > Item Collections > Add New Collection. Name the collection and choose its items. Save it.
Use the collection in Printer Stations or Order Stations to send work to the right place. A collection is not the same as a shop category or a package deal.
Deleting Items
Find the item in Inventory and choose Delete. Read the message and confirm only if it is the right item.
Delete All Inventory removes the whole list. Export a copy first. Do not use it just to hide one item online. Turn off that item's online setting instead. Do not assume a deleted item can be brought back.