Use Sell to add items to a cart. A cart is the list of items the buyer will get.
Check the items, amounts, tax, fees, and total. Then choose a payment method. After the sale is complete, give the buyer a receipt.

 Visit website
Build the cart, take payment, and give a receipt.
Use Sell to add items to a cart. A cart is the list of items the buyer will get.
Check the items, amounts, tax, fees, and total. Then choose a payment method. After the sale is complete, give the buyer a receipt.
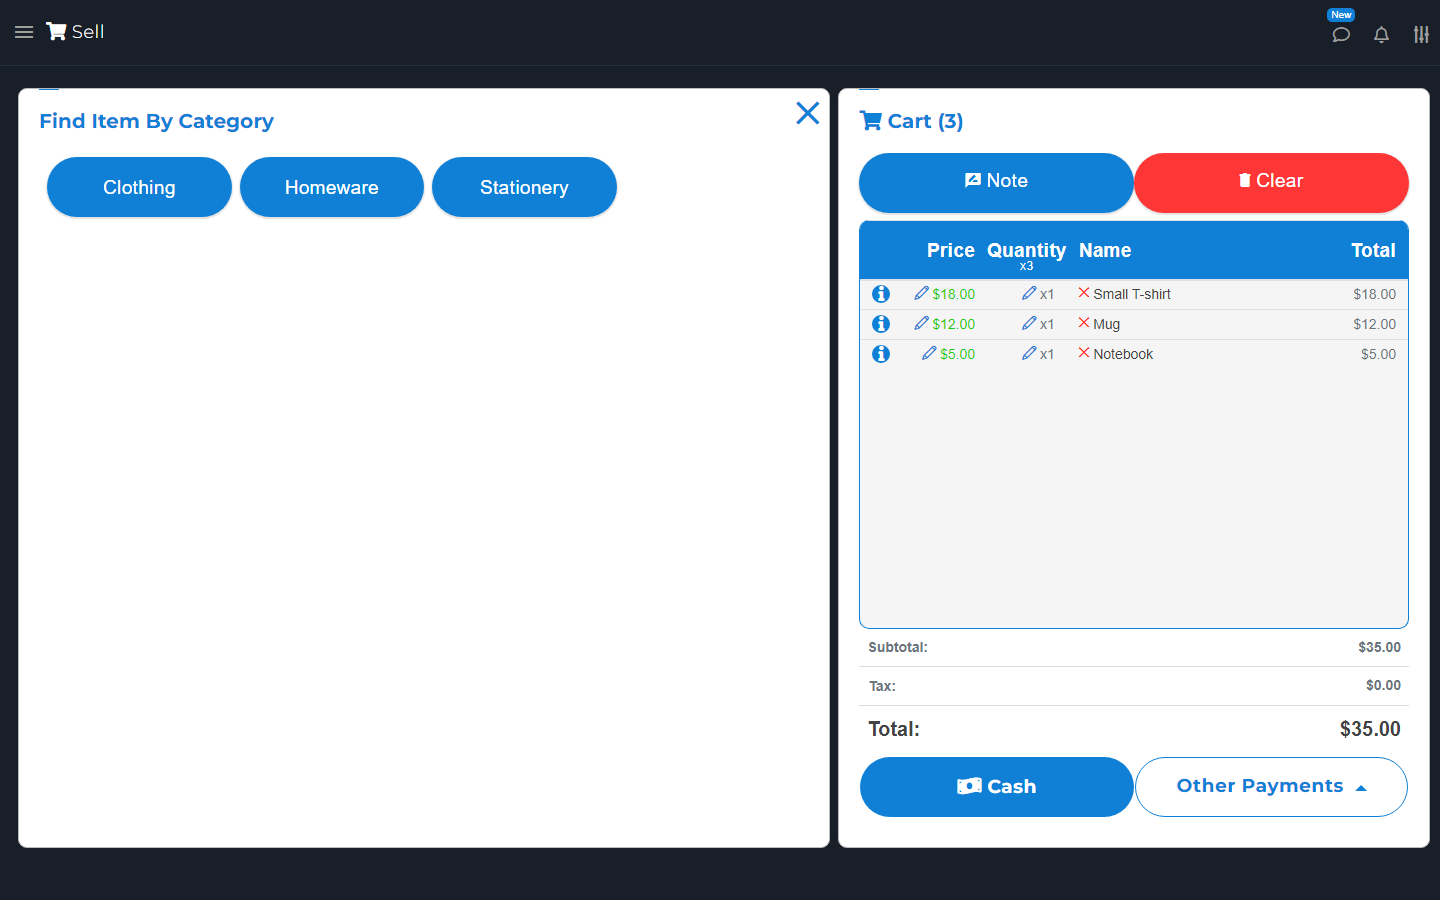
Add an item using one of these methods:
Check the added item in the cart.
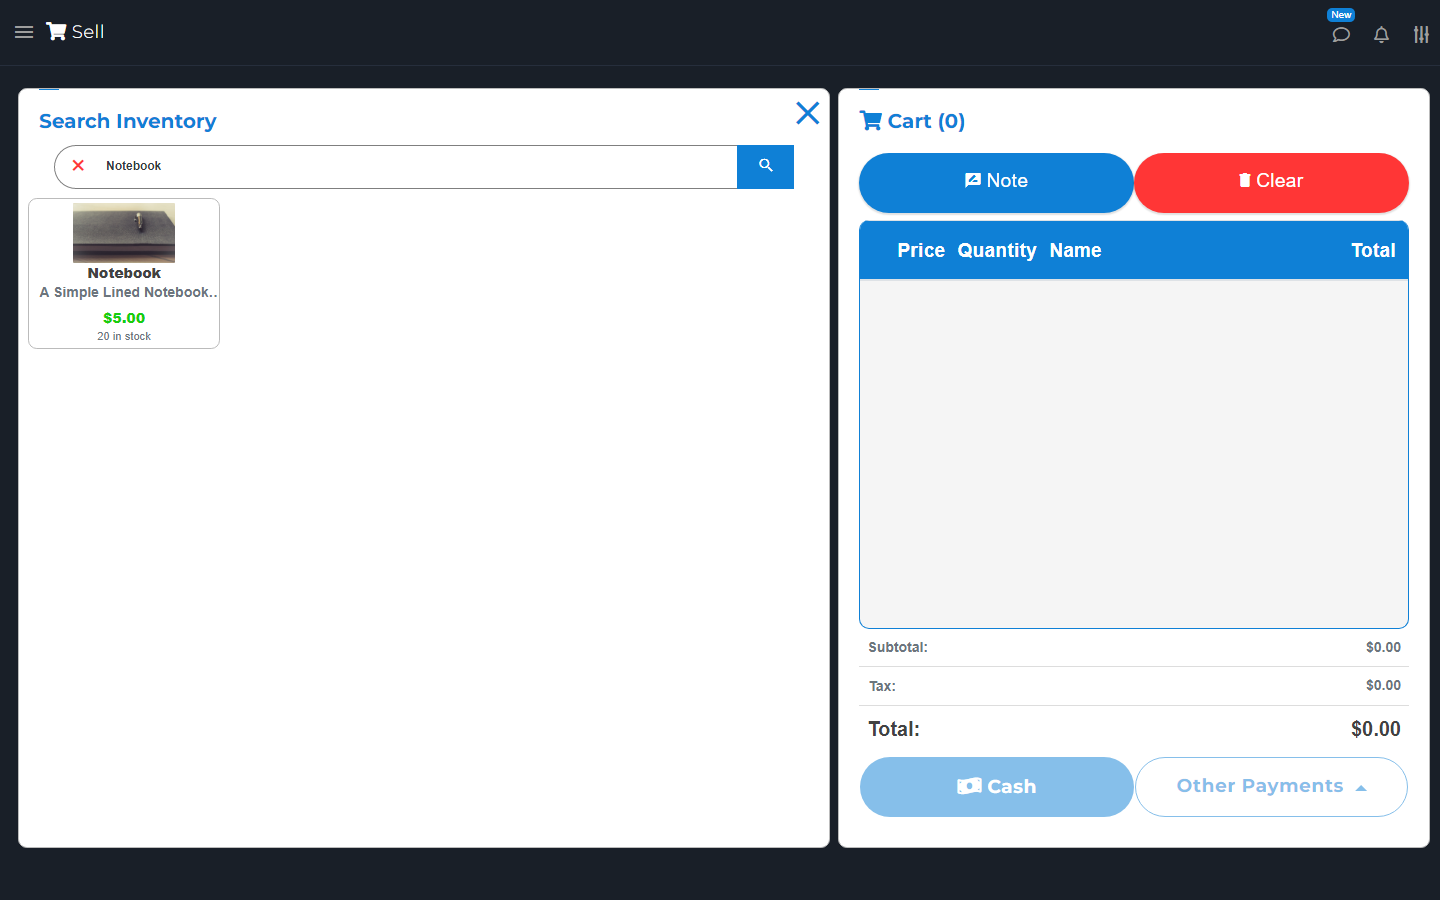
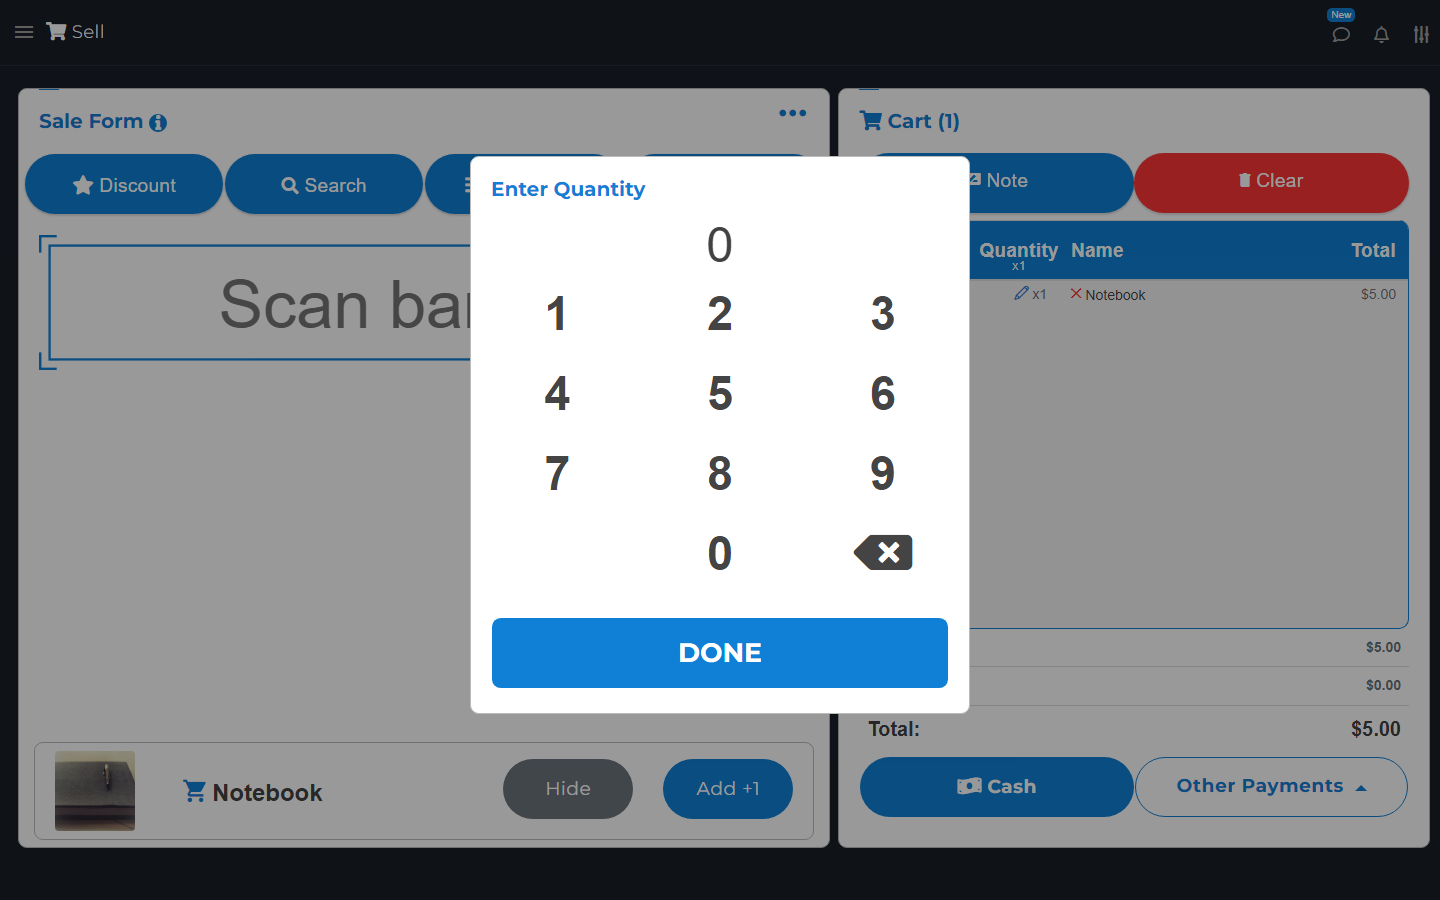
To change an ordinary item's quantity in the cart, choose its number or pencil in the Quantity column. Enter the quantity and choose DONE. Check that line and the cart total. Special items, such as weighted items, use their own controls.
Use Add +1 for one more of the last item. A phone may show a camera scan button. Keep a hardware scanner aimed at the right input field.
Use Clear only when you mean to remove the current cart. Read the message before you confirm.
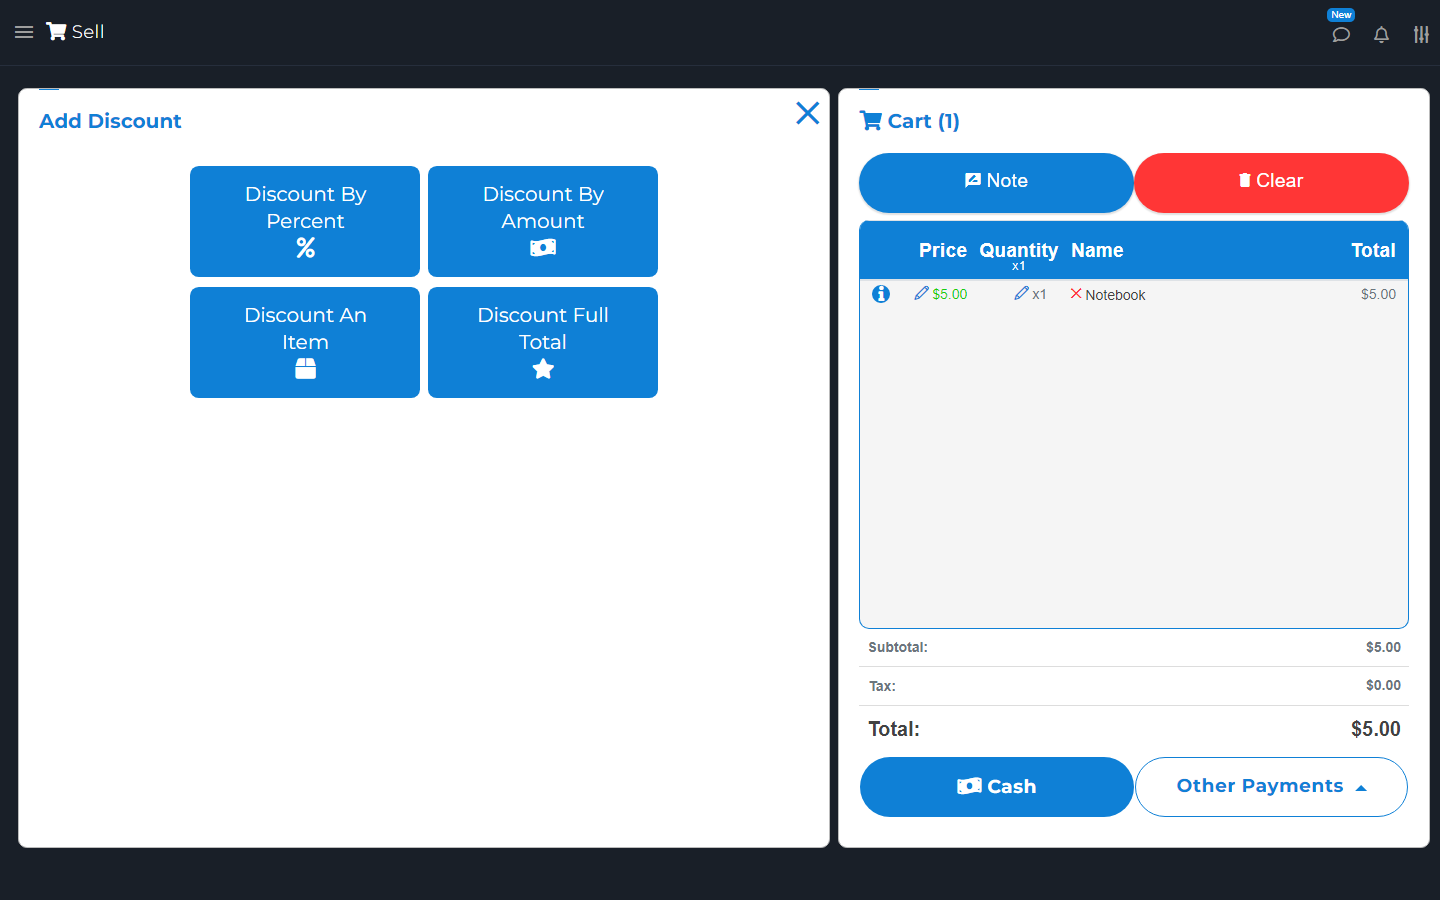
Choose Discount. Choose whether it applies to an item or the full sale. Enter a fixed amount or choose Percent.
Check the discount and new total in the cart. Check any other discounts already there so you do not give the same discount twice.
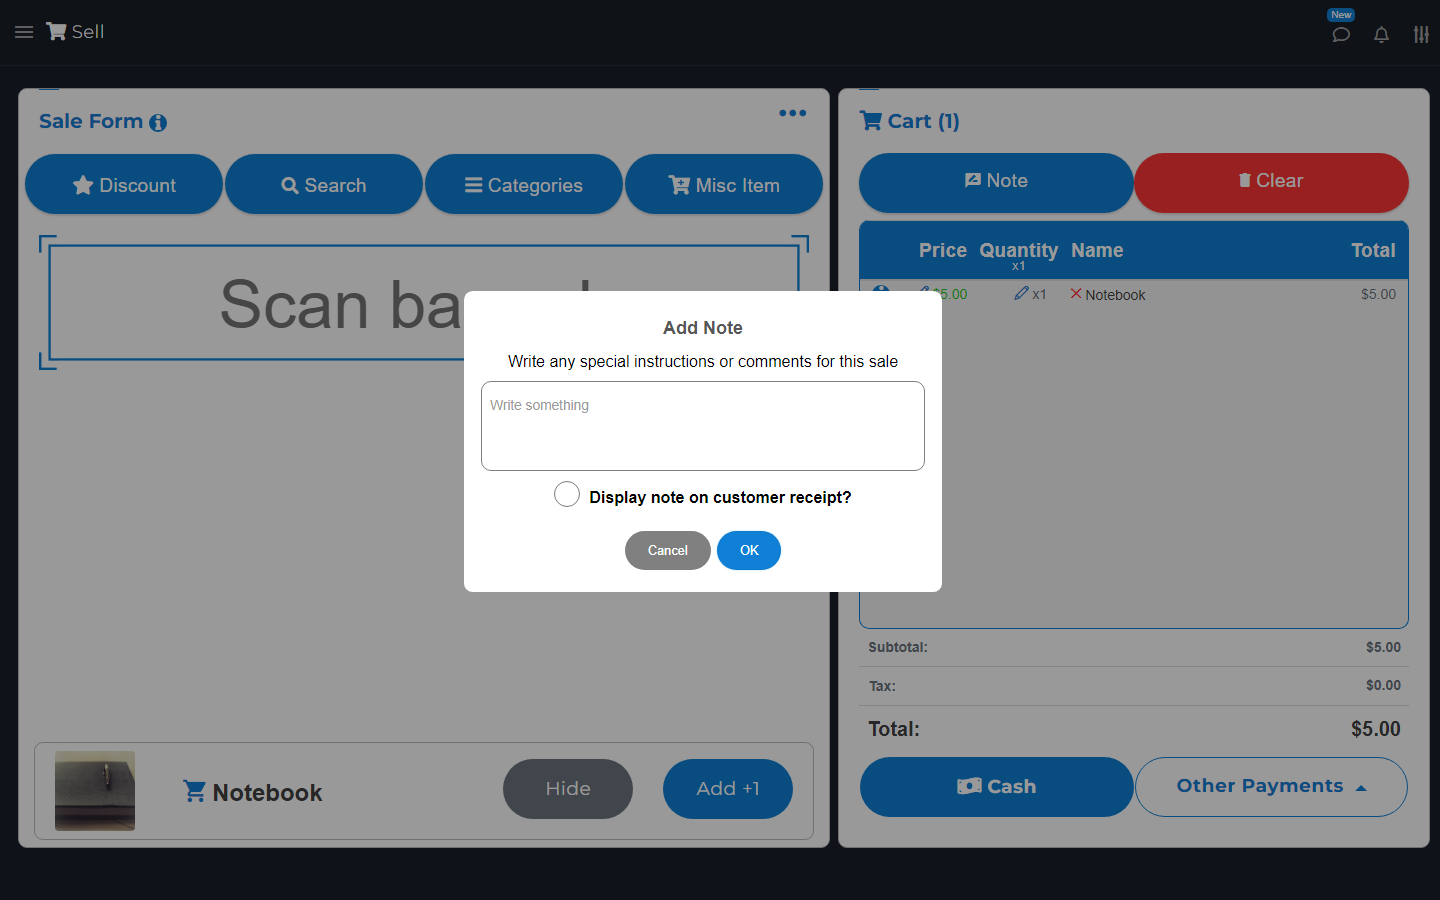
Choose Note above the cart. Enter your note. Use the receipt option only if the buyer should see it.
Open Note again to change or remove it. Do not put passwords or card details in notes.
Add-on: Suspend Sale.
Open Sell's menu and choose Suspend. Wait for Cart suspended successfully. You can then serve another buyer.
Choose Resume and select the right saved cart by its number and date. Resuming replaces the current cart. Finish or suspend that cart first. Check the restored items and total before payment. A suspended cart is not paid.
Remove All Suspended Carts removes the store's saved carts. Use it only when all of them can be removed.
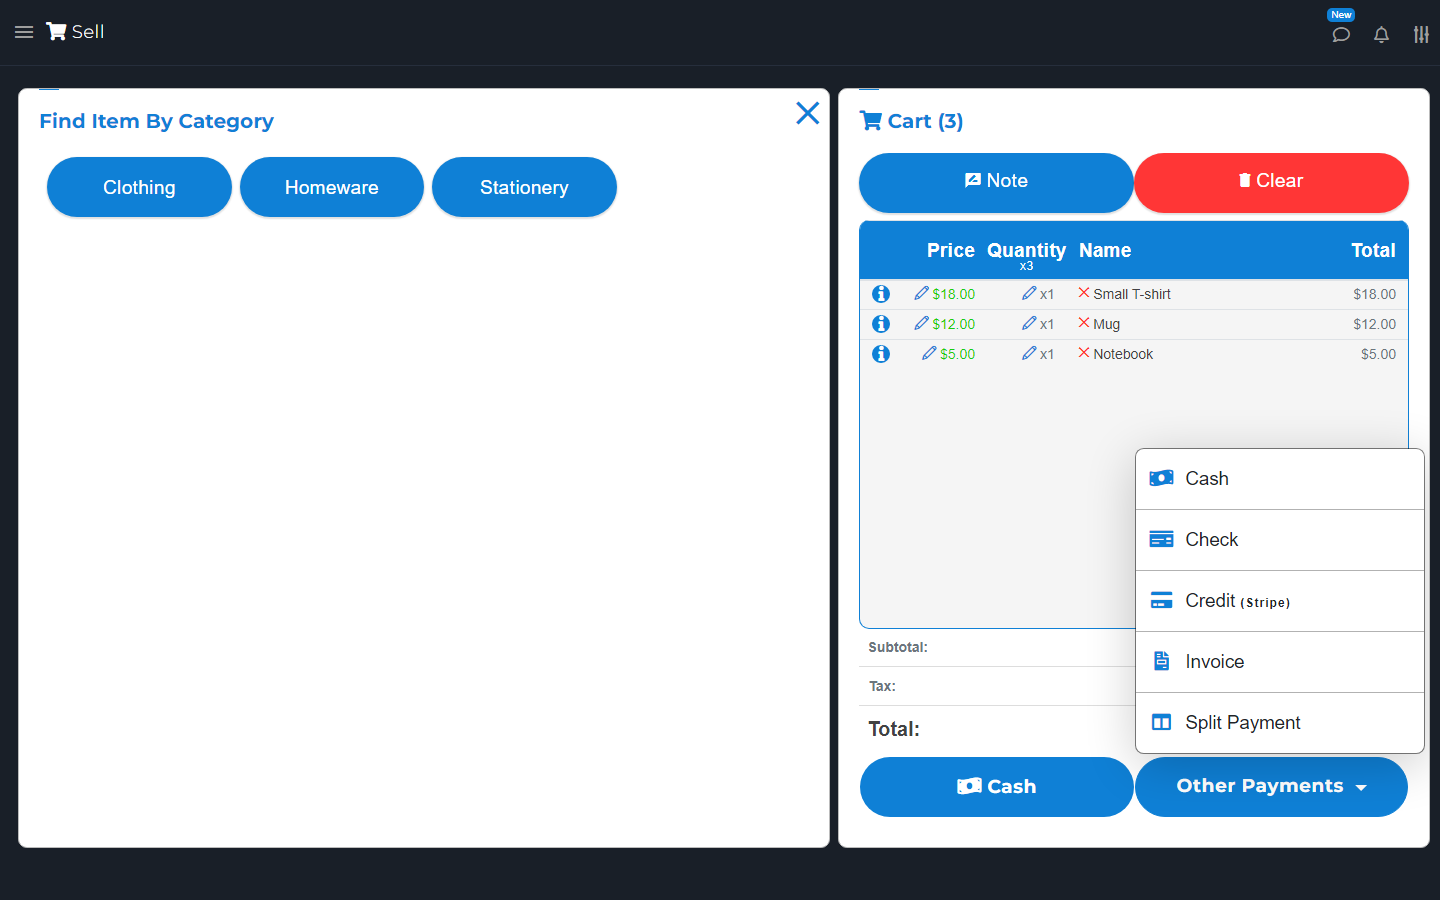
Check the cart first. Choose the quick pay button or open Other Payments to see the other choices. The item settings can limit which methods you can use.
For Cash, count what the buyer gives you. Use the calculator to enter the amount received if you need the app to work out change. Check Change back, then choose Complete Sale, or Complete on a small screen. When Sale Complete appears, choose View to check the receipt, or use the receipt option you need. For Check, enter its number if needed.
A payment label such as Credit or Gift Card can record a payment made outside this app. It does not charge a card on its own. Follow the message on screen. Complete the sale only after that payment is approved.
For a linked reader or online payment, wait for the result. If the result is unclear, check Transactions and the payment account before charging again.
See Split Payment and EBT Payments for those steps.
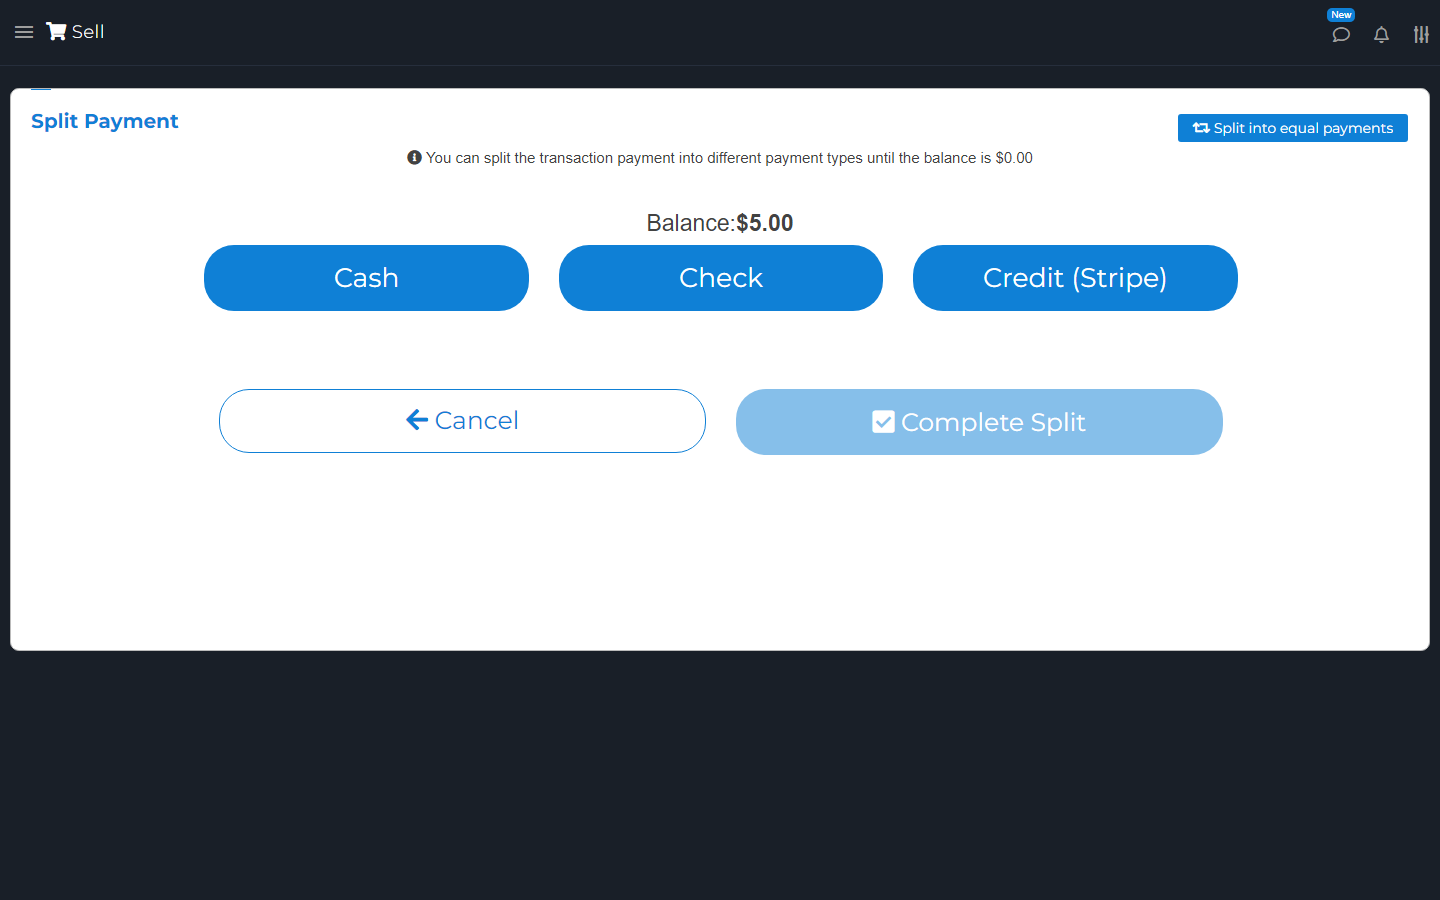
On Sell, open Other Payments and choose Split Payment. On a small screen, the menu says Payments. Choose a payment type, then enter the amount for that part. Add the other parts until the balance is zero. To divide the sale into equal shares, choose Split into equal payments and enter how many shares you need.
A zero balance here means the amounts are allocated. It does not prove that the payments have completed.
Choose Complete Split and follow each payment step. Wait for the final result. Check every part in Transactions afterward. If a card step is unclear, check it before starting again.
EBT is a benefit-card payment. Your store and payment setup must support it. Only mark items as eligible when they meet the program's rules.
For a mixed cart, review Confirm EBT Cart. Move items to the other-payment part if needed. If only part will be paid by EBT, use Pay Partial to enter the EBT Amount To Charge. Check it before continuing with the supported payment flow.
On an integrated reader, this can change the payment request; it is not just a note of money already paid. Wait for the result, then pay the remaining balance with another method. Check both payments before finishing. If an earlier payment may have completed, check it before requesting another. Recording an EBT label does not by itself charge the benefit card.
After Sale Complete, choose the receipt option you need. You can print with a connected printer or use a digital option shown in the app.
Check the email or phone number before you send. Text delivery depends on the options and carrier shown. Use View to open the online receipt. You can send it again from Transactions.
Sending a receipt is not consent to send ads. See Notify Customers.
Open Settings > Receipt Printer. Choose the default printer. Set auto-print and options for the logo, barcode, item lines, and customer or order details.
You can add a QR code that opens the digital receipt. A QR code is a square code a phone can scan. Print one sample and check it before using the settings for customers.
Open Sell's menu and choose Sell Settings, or open it in Settings.
You can choose the first sale form, quick pay button, next-sale timer, cash buttons, and default discount or fee. Check defaults carefully because they can affect every sale.
Cart choices include combining the same item, selling out-of-stock items, shown totals, and text size. You can change sounds and item pictures too. Other choices include a required customer, default order type, receipt signature, and printing a suspended sale.
Check one cart after changing settings. Some choices only show with the right add-on or device.
Add-on: Void Mode.
With the Void Mode add-on, choose Void Mode in Sell's menu. Items added in this mode have negative amounts. Check the red return lines.
Choose Exit Void Mode before adding normal sale items. Check the final total and payment method before finishing.
This is not proof that money went back to a card. For a return tied to an old sale, use Refund and check the payment result.