Docs Visit website
Online shop

Online Store

Choose what buyers see and how they can order.

Storefront Appearance

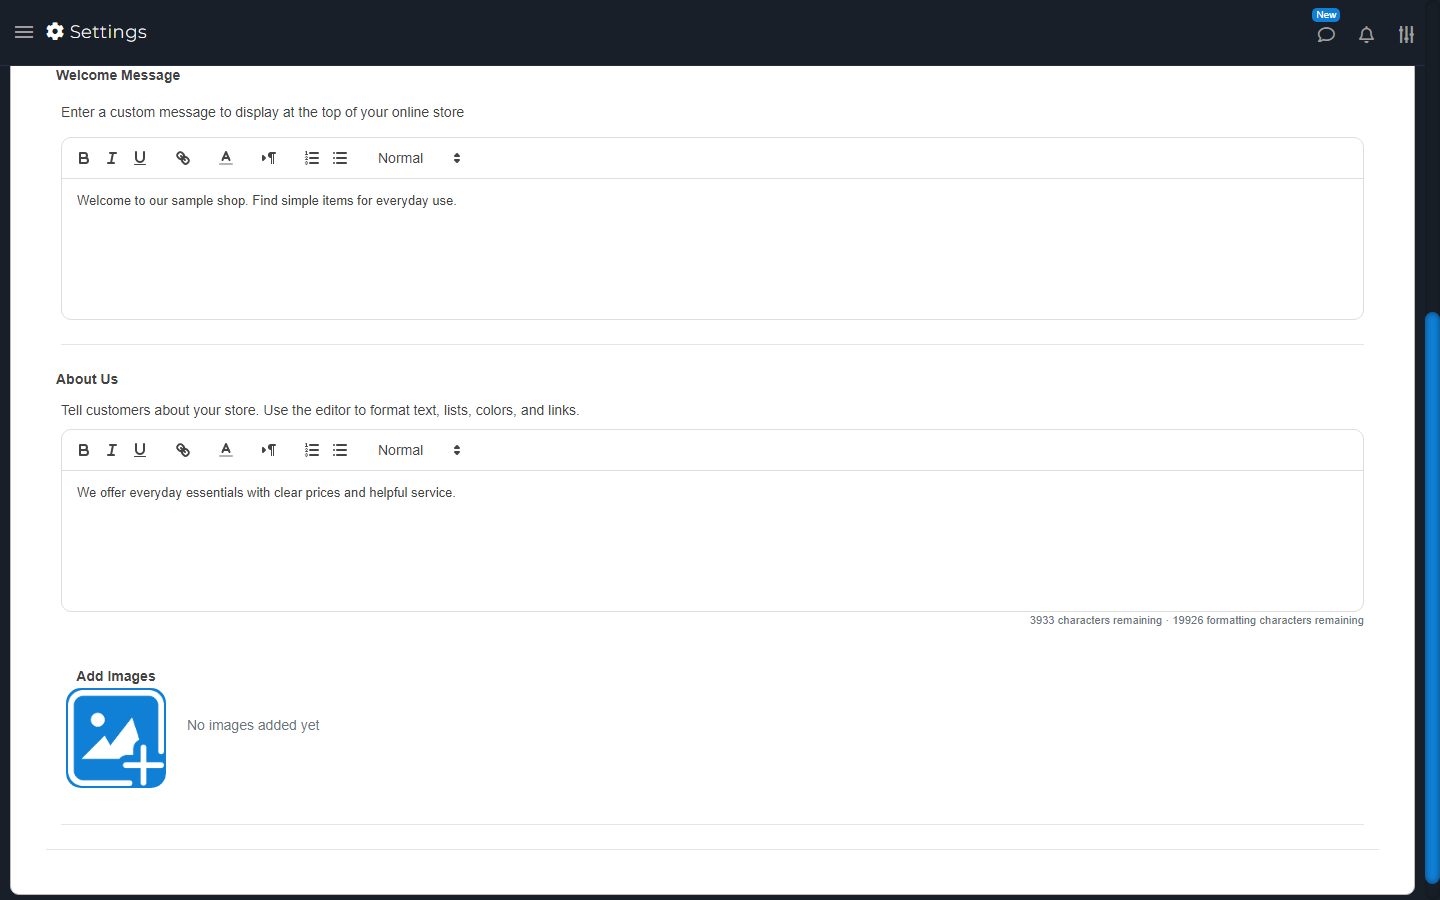
Open Online Store > Storefront Appearance. Add a wallpaper image and a welcome message. Use About Us to tell buyers about your store.

Storefront Appearance welcome message and About Us editors with sample text.
Write a welcome message and tell buyers about your store.

The About editor lets you format text and links. Keep the text within the limit shown. Add About images, move them left or right to set their order, or remove ones you no longer need.

Use clear text and your own photos. Let uploads and saves finish, then open the shop to check what buyers see. Business information holds other store details, such as the name and logo.

Products & Inventory

  1. Open Inventory and edit an item.
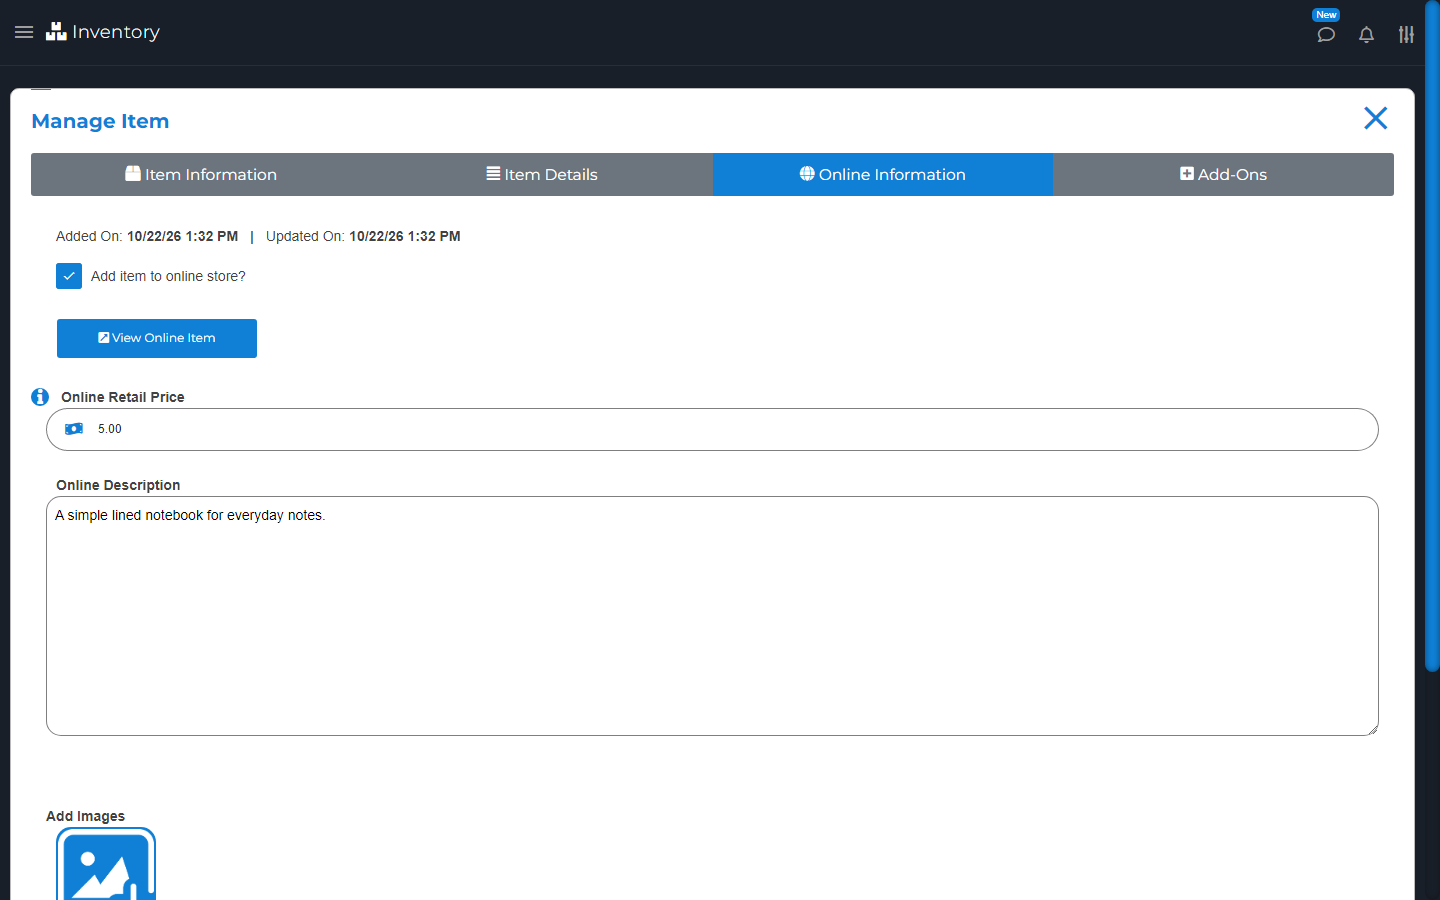
  2. Open its Online tab and turn on Add item to online store?.
  3. Set Online Retail Price.
  4. Write Online Description for the buyer. Add clear images.
  5. Save, then use View Online Item or open the shop to check it.

The online price can differ from your in-store price. Set public online text and check the page. If online text is missing, the shop can use the item description. Set up product choices in Variations. Packages have their own online switch, price, text, and pictures.

Online Information tab with the notebook enabled for the shop, priced at $5.
Turn this on to show the item in your shop. Set its online price and details.

Use Online Store > Products & Inventory for shop-wide stock choices. See Products & Inventory Stock Settings.

Products & Inventory Stock Settings

Open Online Store > Products & Inventory.

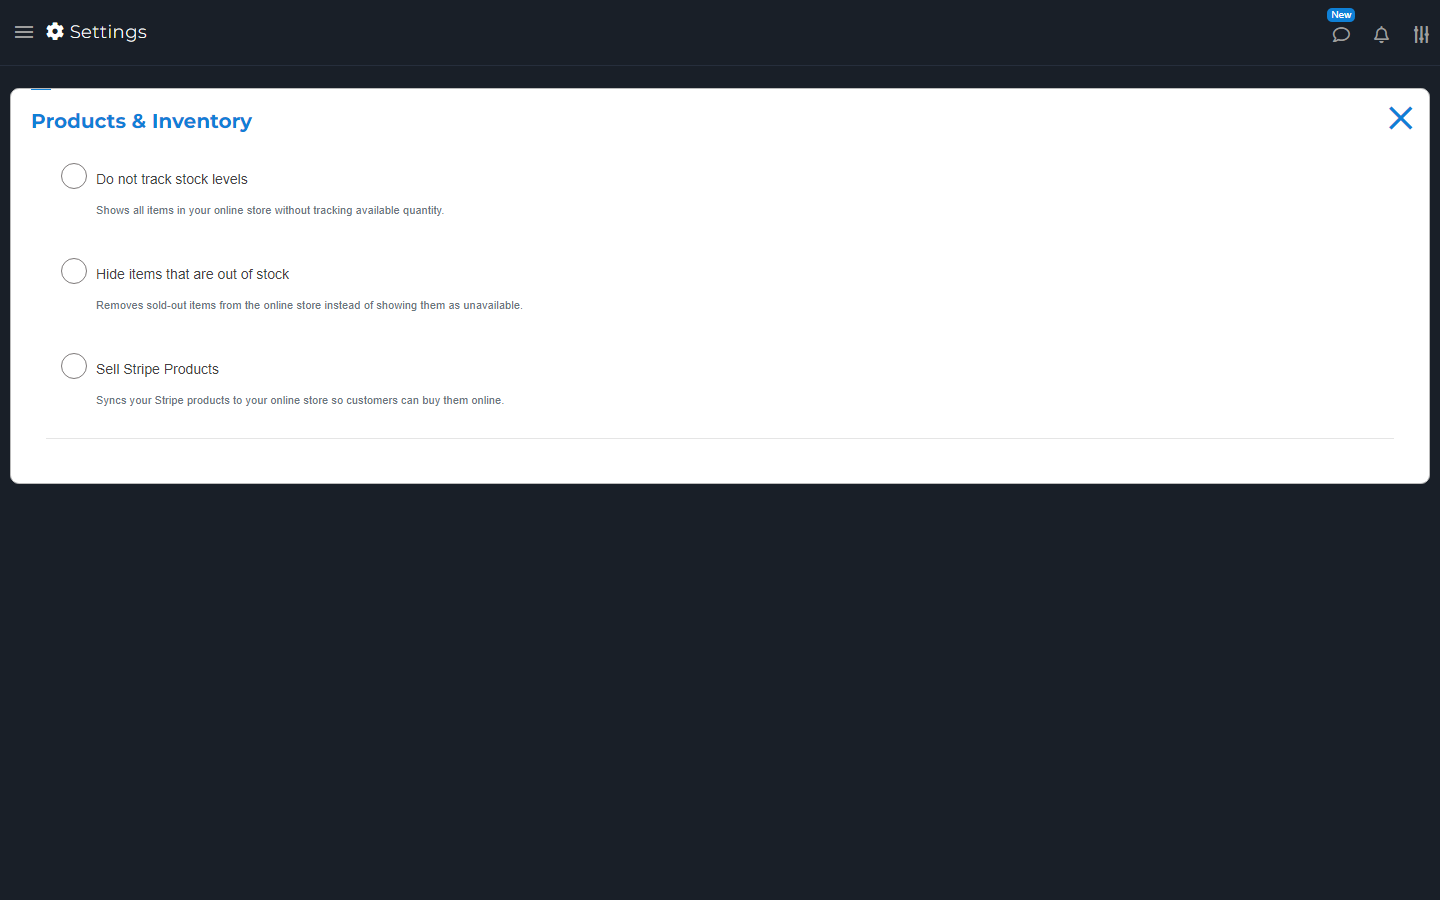
Do not track stock levels lets the shop sell without limiting items to the available count. Turn it off when stock should limit sales.

Hide items that are out of stock removes sold-out items from the shop list. With it off, an item can stay visible but be unavailable to buy.

Check both choices together. Check real item counts and package parts. Update item quantities in Inventory when new stock arrives.

Online Products and Inventory settings with stock and image options.
Choose whether buyers can order items that are out of stock.

Sell Stripe Products

In Products & Inventory, use Sell Stripe Products if you want the linked Stripe product list in your shop. Connect Stripe first.

Check the products, prices, and tax choices before sharing them. Stripe products and your normal Inventory items are different lists. Do not assume a Stripe product has the same stock count as a POS item.

Checkout & Payments

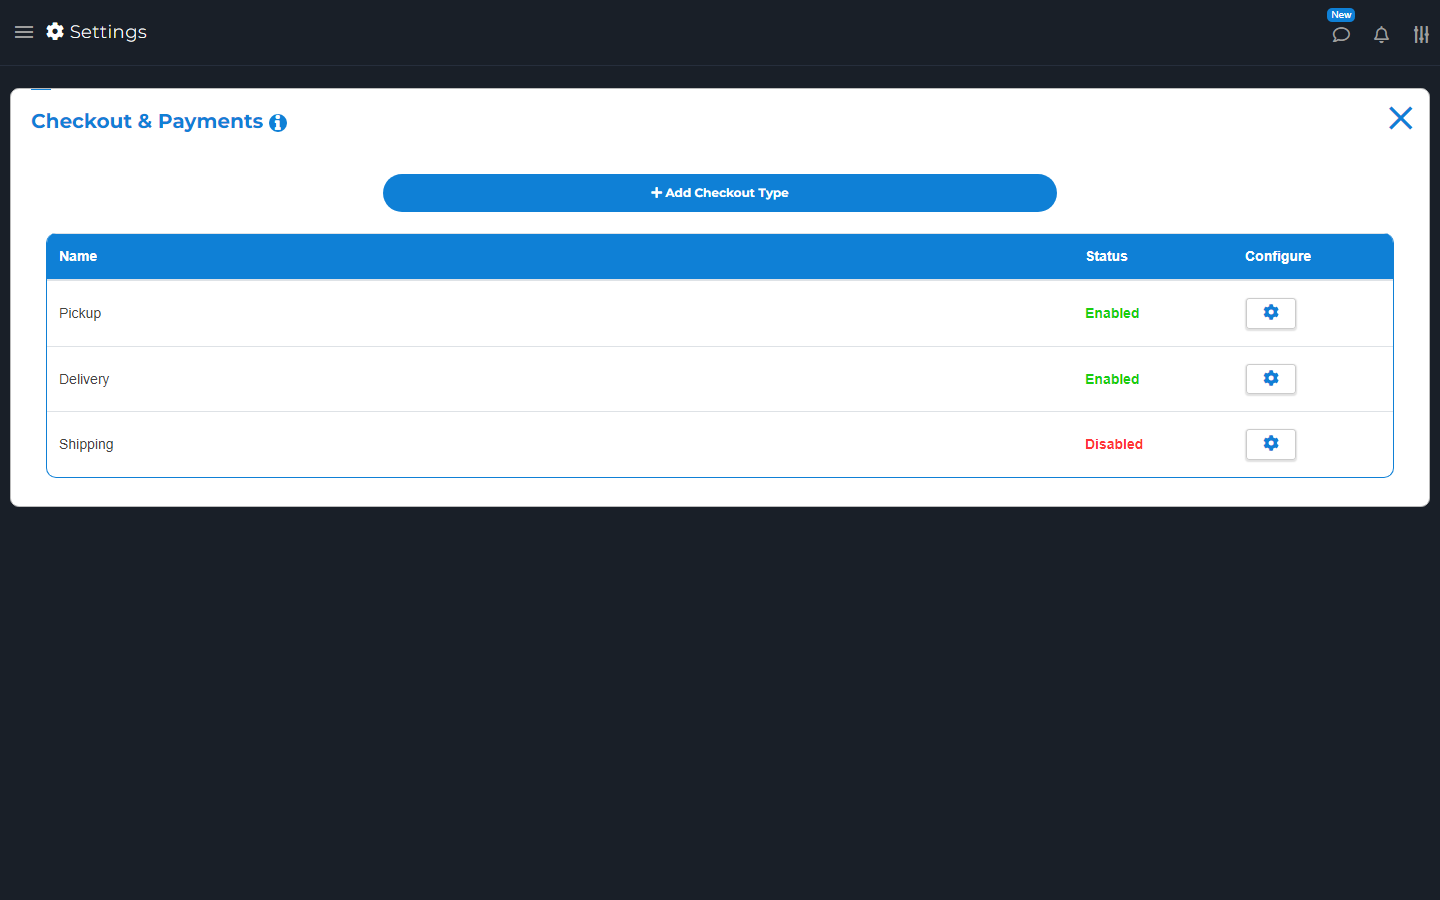
Open Online Store > Checkout & Payments. Open Configure for each type you plan to offer.

Pickup means the buyer collects it. Delivery means you take it to them. Shipping means you send it to their address. Services is for bookings with the Service Appointments add-on.

Turn on the type and choose at least one payment option it supports. Stripe needs a linked Stripe account. Pay-later choices for goods need the Orders Management add-on.

Check each type's fee, minimum spend, tips, notes, and address choices. Then open the shop and check the choices buyers see. Turning off all usable types stops checkout for orders that need pickup, delivery, or shipping; it does not hide every product. A cart with only event tickets skips these choices and needs online payment through a connected Stripe account. A cart with goods and tickets still needs a way to receive the goods and must be paid online.

Checkout and Payments showing Pickup, Delivery and Shipping.
Open a checkout type to choose how buyers receive and pay for orders.

Add Checkout Type

Choose Add Checkout Type. Enter a clear label and short description. Enable the payment choices offered for it. Set its minimum, fee, and any address or time choices.

Save and check it in the shop. A custom type does not add a new card processor. Connect Stripe for card payments and enable Orders Management for pay-in-person orders.

You can remove a custom type when no longer needed. Built-in types such as Pickup, Delivery, and Shipping keep their fixed roles. Turn them off rather than trying to turn them into a different type.

Configure a Checkout Type

Configure a checkout type in Checkout & Payments. Set Minimum Checkout Amount to the smallest order you accept for that type. Zero removes that minimum.

Choose its fee if needed. Turn Accept online tips on only if you want the tip choice shown. Check Hide order's default note information before hiding text buyers might need.

Open checkout and check its final total. A minimum is a spending rule, not an extra fee. Different checkout types can have different rules.

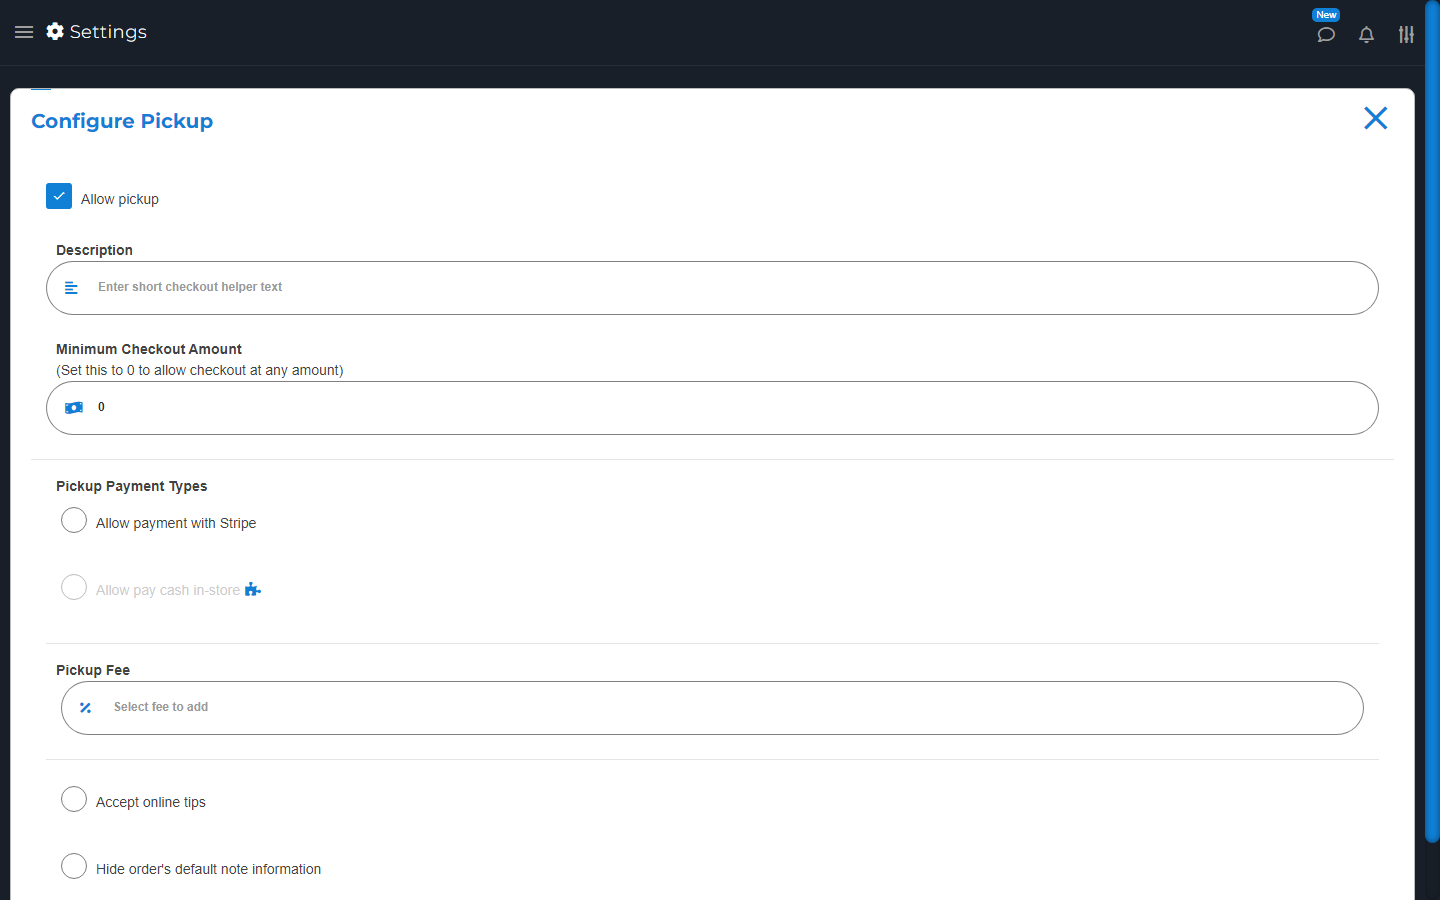
Pickup settings with the minimum order, payment choices, fee and tip options.
Check the minimum order and payment choices for Pickup. Choose a payment method before taking online orders.

Ask for an address or order time

Delivery and Shipping need the right destination details. For a custom type or Services, use Ask for address fields if your work needs an address.

Use Show order time card for supported goods-order types after enabling online hours. Service bookings use service slots instead.

Check the customer form. Asking for an address does not set a delivery zone, book a courier, or buy postage.

Checkout Hours

Open Online Store > Checkout Hours. Turn on Enable online store hours if you want to limit when orders can be placed. Set each open day and its times. Check closed days too.

Open each checkout type and turn on Show order time card where needed. Service bookings use their own available slots, not this goods-order time card.

Business hours shown on receipts are a separate setting. After a change, check the shop when open and when closed. Do not assume a visible product can always be ordered.

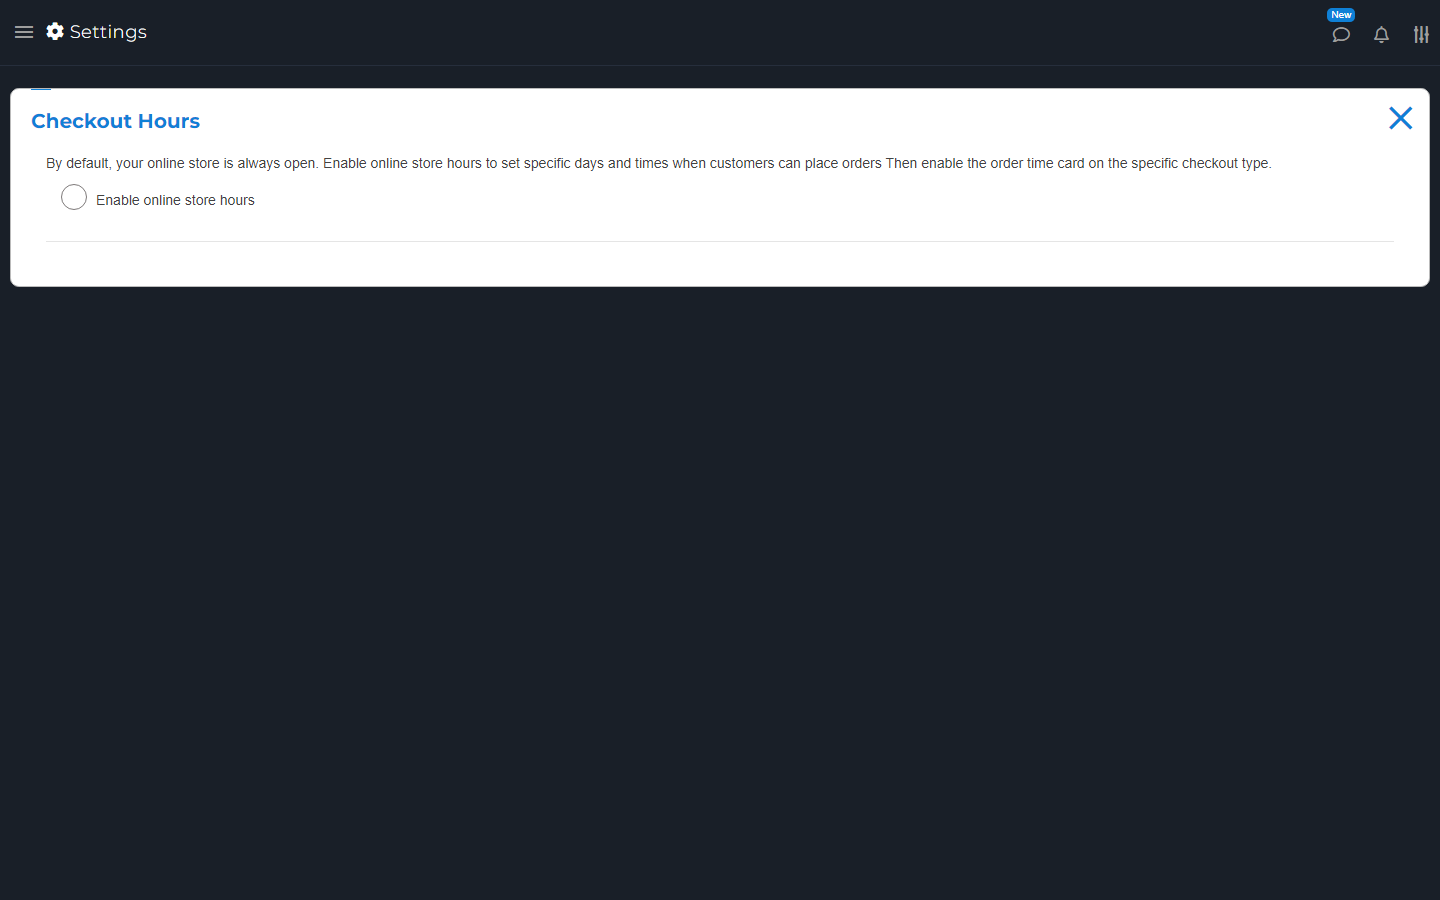
Online Checkout Hours with Enable online store hours switched off and the always-open explanation.
With store hours off, buyers can order at any time. Turn on Enable online store hours to add a schedule.

Order Notifications

Open Online Store > Order Notifications.

  • Turn on Receive POS notification for an alert in the app.
  • Turn on email alerts if needed. Check Online Order Notification Email.
  • For paper orders, turn on Automatically print new online orders.
  • Pick the Online Order Print Device linked to the printer.

That device must be online when an order arrives. An email alert, a POS alert, and a printed ticket are separate things. Check the order and payment state before you make or hand it over.

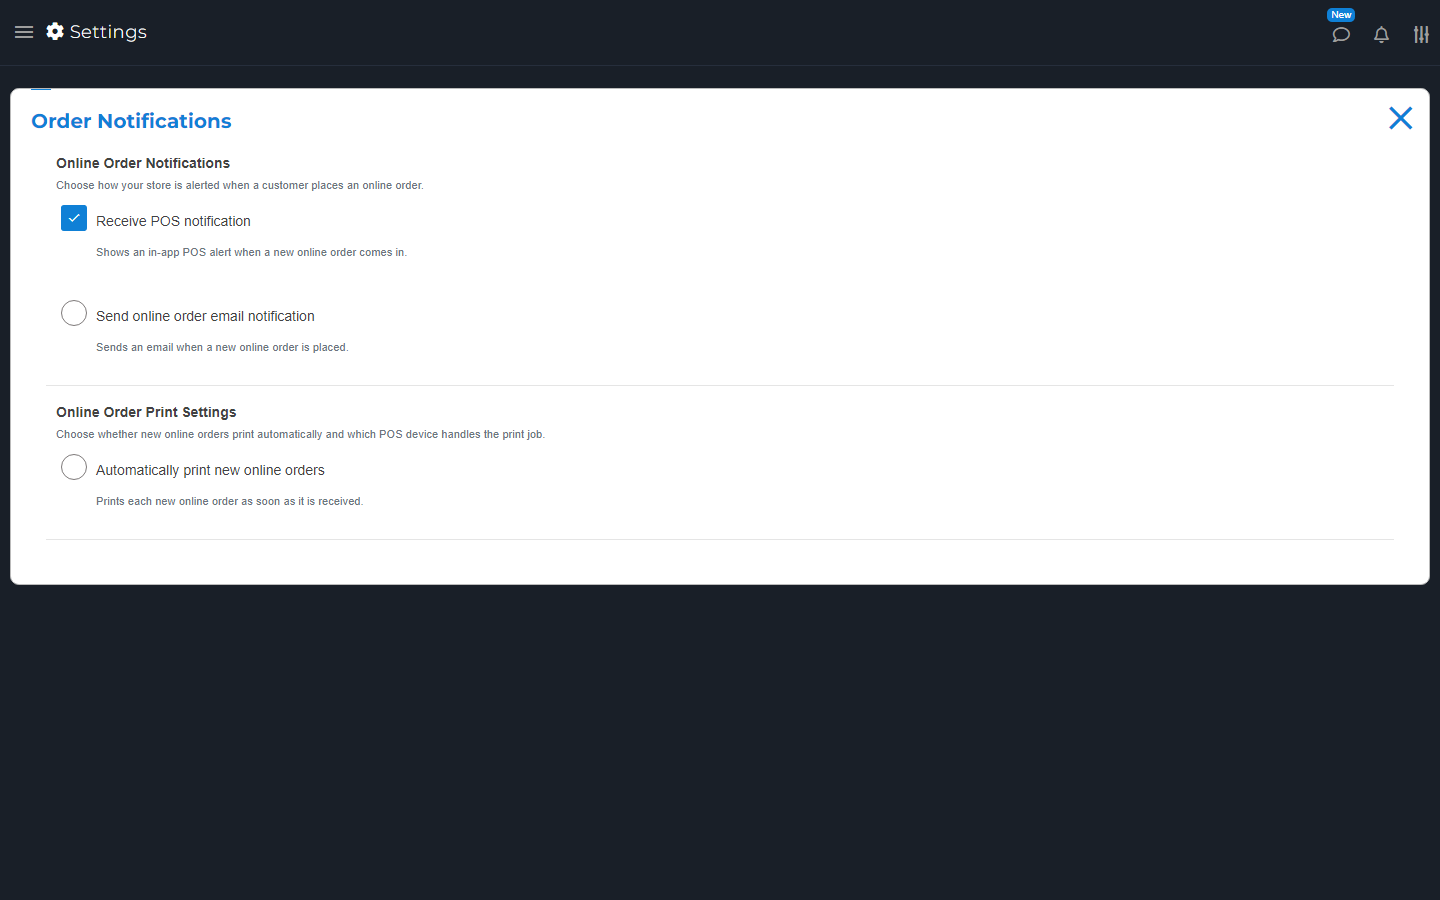
Online order notifications with POS alerts, email and automatic-printing choices.
Choose how the POS alerts you when a new online order arrives.

Check your shop before sharing it

Open your saved Store Link as a customer. Check the store name, logo, phone, policy, and hours.

Open products and check prices, choices, photos, and stock. Check packages, services, events, coupons, and rewards that you offer. Put an item in the cart and review checkout types, fees, address fields, and payment choices.

Do not make a real payment just to test the page. Use an agreed test process if you need a full payment test. Share the link only after the shop shows what you intend to sell.

Handle an order from the shop

Check the right place for each purchase:

  • Goods: open the alert or find the order in Orders.
  • Service bookings: check Services > Calendar.
  • Tickets only: check the sale in Transactions and the tickets in Events > Issued Tickets.
  • Goods and tickets together: find the order in Orders.

Check the customer, items, choices, type, address, time, and notes. A saved order, booking, or sale does not by itself prove payment. A pay-in-person order still needs payment. Use the linked sale and receipt to check a paid order.

Use your order station, schedule, or printer tools if enabled. Automatic online-order printing does not cover ticket-only sales. Check those tickets and their sale separately. When a payment result is unclear, check the payment account before charging again.

An item is missing or cannot be bought

Check the item in Inventory. Is Add item to online store? on? Is its online price set? Does its variation group point to the right items?

Check stock and Hide items that are out of stock. For a package, check its online switch and included items. Clear shop filters and open the saved Store Link again.

If it still looks wrong, send Support the item name and what you expected. Do not make a second item just to hide the problem.

The shop will not take orders

For goods that need pickup, delivery, or shipping, check that at least one checkout type is enabled with a usable payment option. Check online hours, minimum spend, item stock, and required product choices.

For services, check available slots. For events, check publication, ticket dates, remaining tickets, and the connected Stripe account. Online tickets need online payment, including when the cart also contains goods.

If the whole shop shows Coming soon, use Support to check its availability. Do not treat a failed or spinning payment screen as a successful order.

Search by topic, task or a few words.